Author
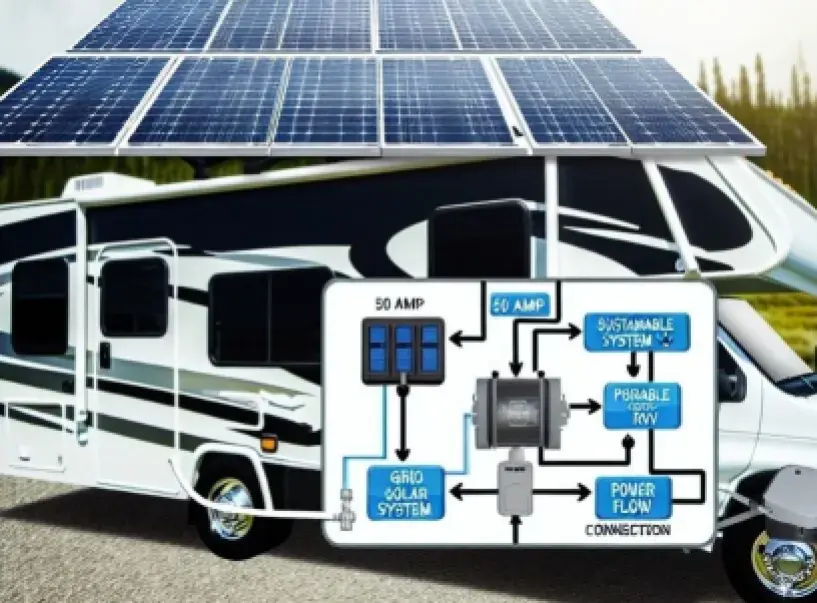
Building a complete off-grid solar power system for a 50 amp RV takes planning, the right components, and a realistic understanding of your daily energy needs. This guide walks through exactly how we did it – from the first small experiment to a fully capable system that powers our fridge, furnace, and kitchen appliances without a generator.
Why Go Off-Grid Solar in Your RV?
Shore power is convenient, but it limits where you can go. A well-sized solar system gives you the freedom to camp in remote locations, avoid noisy campgrounds, and cut down on fuel costs for generators. Once you have experienced true off-grid camping with reliable solar power, it is hard to go back.
For a 50 amp RV, the energy demands are significant – air conditioning, a residential fridge, electric water heater, and multiple devices can easily exceed 3,000-5,000 watt-hours per day. That is why system sizing matters more than any single component choice.
Step 1: Conduct an Energy Audit First
Before buying a single panel or battery, calculate your actual daily energy consumption. List every device you run regularly, its wattage, and how many hours per day you use it.
- 12V compressor fridge: ~50Ah/day
- LED lighting: ~5-10Ah/day
- Phone and laptop charging: ~10-15Ah/day
- Furnace blower fan: ~5-10Ah/night
- Coffee maker (via inverter): ~10Ah per use
Add up your total amp-hours needed and multiply by 1.25 to account for efficiency losses. Use our RV power usage calculator guide to work through the math step by step.
Step 2: Design Your Battery Bank
The battery bank is the foundation of the system. For our 50 amp RV, we chose 4 x 6V AGM batteries wired in series-parallel to create a 12V / 450Ah bank – giving roughly 225Ah of usable capacity at 50% depth of discharge.
Today, we would strongly consider lithium (LiFePO4) instead. Lithium batteries offer 80-100% usable capacity, charge faster, last 3-4 times longer, and weigh less. Our RV battery bank sizing guide walks through how to calculate the right bank size for any setup. See our comparison of lithium vs AGM RV batteries for a full breakdown of real-world costs.
Step 3: Size Your Solar Panel Array
For a 450Ah battery bank, you want enough solar to fully recharge in 4-6 hours of good sun. We installed 6 x 200W monocrystalline panels (1,200W total), which generates roughly 60-80Ah per peak sun hour depending on conditions.
Panel placement matters. Flat-mounted panels lose 15-25% efficiency compared to tilted panels. For a detailed guide on how many panels you actually need, see our RV solar panel sizing guide. For top brand comparisons, check our roundup of the best RV solar panels in 2026.
Step 4: Choose the Right Charge Controller
A charge controller sits between your solar panels and your batteries, regulating voltage and preventing overcharge. For a 1,200W system, an MPPT controller is essential – it is 15-30% more efficient than PWM at harvesting energy, especially in low-light and cold conditions.
We use a Victron SmartSolar MPPT 100/50. Our guide on MPPT vs PWM solar charge controllers explains the difference in depth. For rated options, see our picks for the best MPPT charge controllers for RV.
Step 5: Select and Install a Pure Sine Wave Inverter
An inverter converts DC battery power to AC power for household appliances. For a 50 amp RV, use a pure sine wave inverter – modified sine wave units can damage sensitive electronics and motors.
We chose a 3,000W pure sine wave inverter/charger, which also functions as a battery charger when connected to shore power or a generator. Size your inverter to handle your largest single load with 20-25% headroom. For guidance, see our RV inverter sizing guide.
Step 6: Wiring, Fusing, and Electrical Safety
Undersized wire creates heat and fire risk; missing fuses mean no protection in a short circuit. We used 4/0 AWG cable between batteries and the inverter, with a 300A ANL fuse within 18 inches of the battery positive terminal.
Each circuit has its own appropriately-rated fuse or breaker. Our RV electrical safety guide covers fuses, breakers, and grounding in detail – do not skip this step.
Step 7: Monitor Your System in Real Time
Without a battery monitor, you are guessing at your state of charge. We use the Victron BMV-712, which tracks voltage, current, consumed amp-hours, and estimated time remaining. Real-time monitoring helps you catch problems early and learn how your system behaves under different conditions.
Backup Charging: Generator and Alternator
Solar alone cannot cover every situation. Cloudy days or extended shade will occasionally require a backup charge. Our system charges from a generator via the inverter/charger, or from the alternator through a DC-DC charger while driving. See our guide on RV battery charging methods for a full comparison of all charging sources.
What This System Powers Off-Grid
After installation, our 1,200W solar / 450Ah system comfortably runs: a 12V compressor fridge 24/7, the furnace fan all night, an Instant Pot and coffee maker via inverter, LED lighting throughout the rig, laptop and phone charging, and a CPAP with humidifier. We can typically go 2-3 days without sun before needing backup – enough for most cloudy spells we encounter.
Key Lessons Learned
The biggest mistake most RVers make is under-sizing the battery bank and over-sizing the panel array. Panels are cheap; batteries are expensive and critical. Size your bank first, then add enough solar to fill it reliably. Start with a solid energy audit, buy from reputable brands, and never cut corners on wiring and fusing. A properly built system will outlast the RV and pay for itself many times over in avoided campground fees and generator fuel.
Published on February 2, 2026
Michael Carter
Michael Carter is an RV conversion specialist and solar energy advisor with extensive hands-on experience building off-grid power systems for camper vans and motorhomes. He shares step-by-step guides for DIY RV builds and renewable energy upgrades.