Author
DIY installation tips for RV solar panels
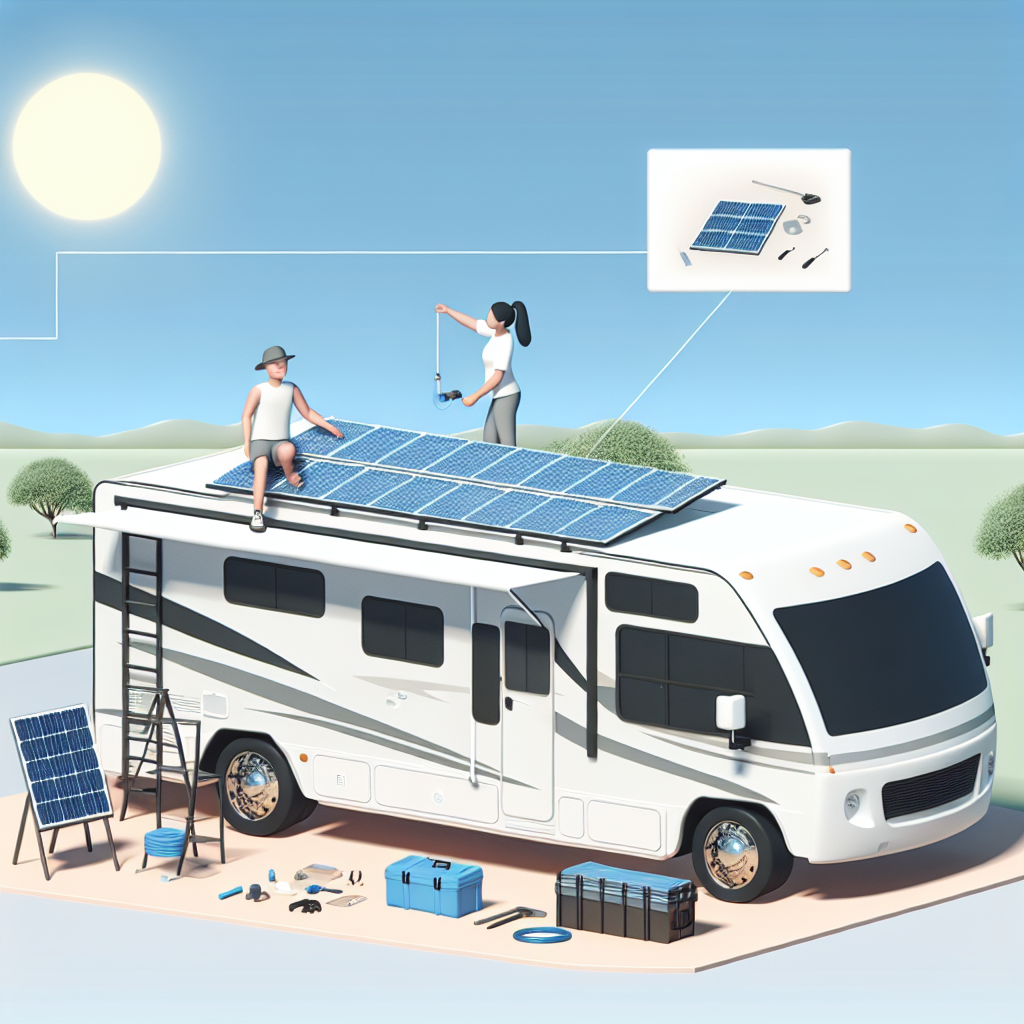
Installing solar panels on your RV can be a rewarding project that enhances your travel experience by providing a reliable and sustainable energy source. By taking on this DIY project, you can ensure that your setup is both effective and efficient. This guide provides practical tips to help you install solar panels on your RV, addressing common challenges and emphasizing safety and efficiency.
Preparing for installation
Before you start the installation process, it’s essential to gather all necessary tools and materials. Make sure you have:
- Solar panels: Choose panels based on your energy needs. Consider their efficiency and size.
- Mounting brackets: These will secure the panels to your RV roof.
- Charge controller: An essential component to prevent overcharging. Learn more about selecting the right one in our article on choosing the best charge controller for your RV solar system.
- Inverter: Converts DC to AC power. Familiarize yourself with potential issues by reading common inverter problems in RV solar systems and how to solve them.
- Cables and connectors: Ensure they are rated for outdoor use and compatible with your panels and system.
- Safety gear: Gloves, goggles, and a harness for roof work.
- Check voltage: Before working with the electrical components, ensure all power sources are disconnected to prevent shock.
- Use a harness: When working on the roof, always use a safety harness to prevent falls.
- Weather considerations: Avoid installation on wet or windy days to minimize risks.
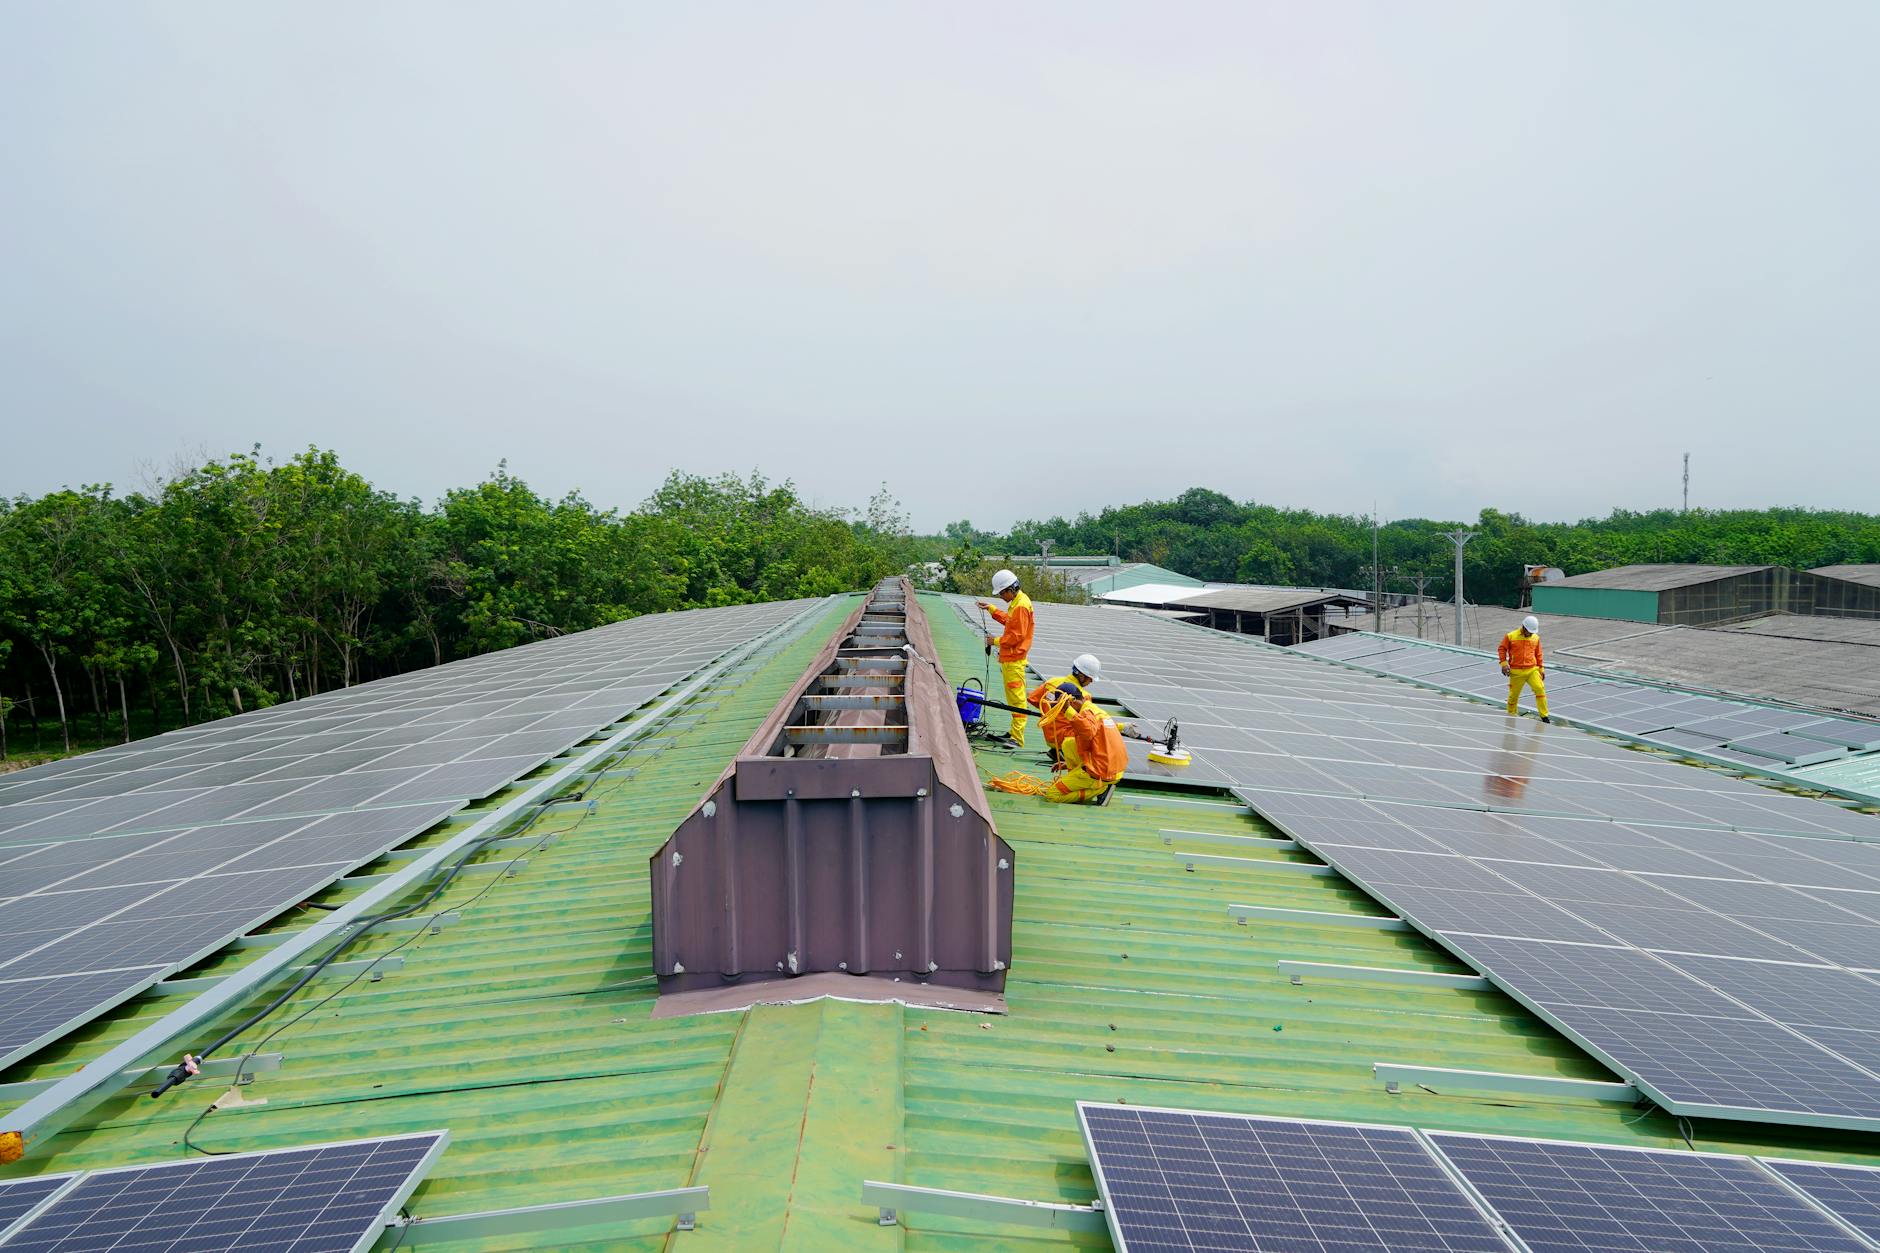
- Regular maintenance: After installation, regularly check connections and clean the panels to maintain efficiency. For seasonal adjustments, see our guide on seasonal adjustments for RV solar panel efficiency.
Check your RV’s roof for any damage and ensure it can support the weight of the solar panels. Clean the surface where the panels will be installed for optimal adhesion and performance.
Step-by-step installation guide
Step 1: Position your panels
Determine the optimal placement of your solar panels. They should be positioned to receive maximum sunlight throughout the day. Typically, this means placing them on a flat section of your RV’s roof, angled slightly if possible to capture more sunlight.
Step 2: Install mounting brackets
Secure the mounting brackets to your RV’s roof using screws and sealant to prevent leaks. The brackets should be evenly spaced to distribute the weight of the panels. Ensure all components are tightly secured to withstand travel conditions.
Step 3: Attach the solar panels
Carefully place the solar panels onto the mounting brackets and secure them according to the manufacturer’s instructions. Double-check that all bolts and fasteners are tightened properly.
Step 4: Connect the system
Connect the solar panels to the charge controller using the correct cables and connectors. The charge controller should be installed in a location that is both dry and accessible. From the charge controller, connect to your RV’s battery. Ensure all connections are secure and weatherproof.
Step 5: Integrate the inverter
Install the inverter close to your battery bank to minimize power loss. Connect the inverter to the battery, following the specific guidelines provided by the manufacturer. This setup will allow you to use AC appliances in your RV.
Safety precautions and tips
Overcoming common challenges
During installation, you might face challenges such as limited roof space, complex wiring needs, or issues with component compatibility. Plan your setup carefully and consider professional help if needed. For further insights on optimizing your solar panel setup, explore our ultimate guide to RV solar panel setup and maintenance.
Enhancing your RV experience
Once installed, solar panels can provide numerous benefits, such as reduced reliance on traditional power sources and increased travel autonomy. To learn more about the advantages of solar panels in RV travel, visit our article on the top 5 advantages of using solar panels in RV travels.
By following these DIY installation tips and ensuring regular maintenance, you can enjoy a sustainable and efficient energy solution for your RV, all while enhancing your travel experience.