Author
How to install an RV solar system: Step-by-step guide
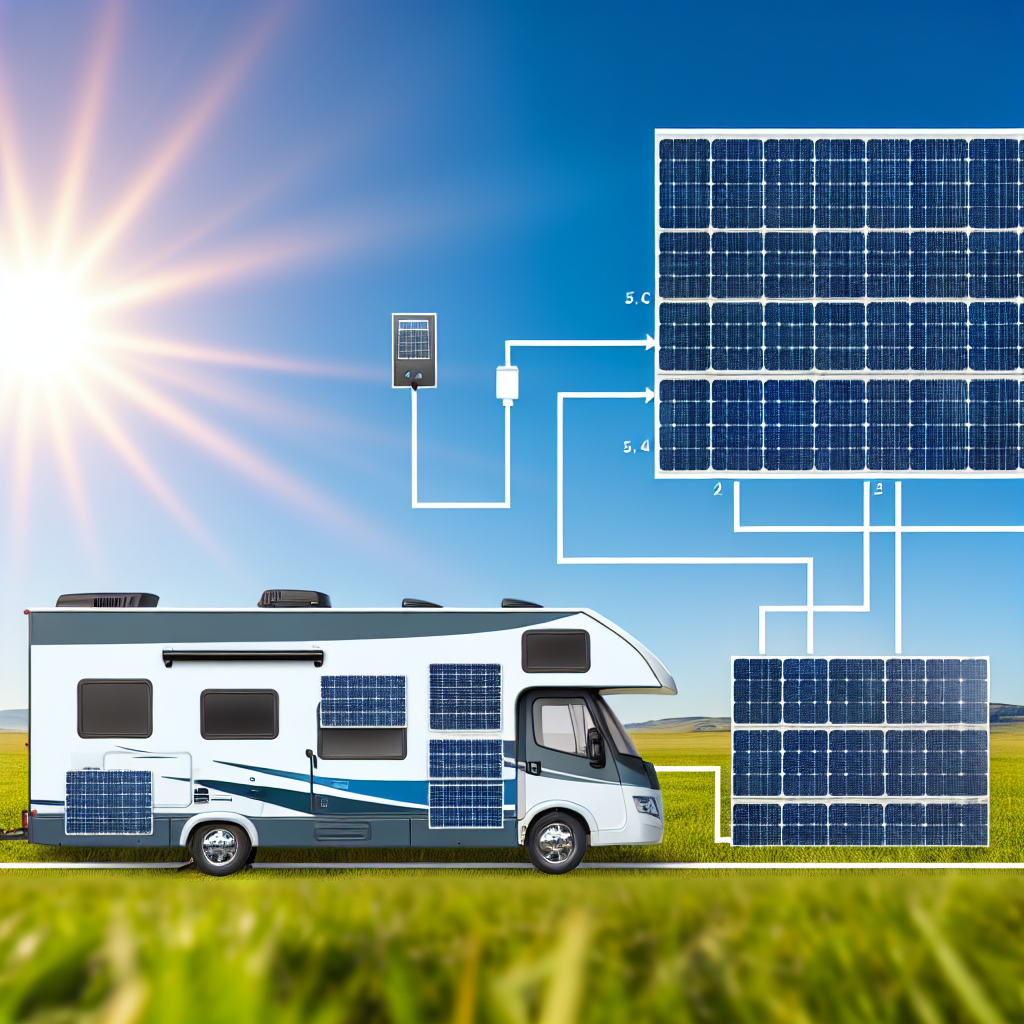
Installing an RV solar system can be a rewarding project that enhances your vehicle’s energy efficiency and independence. This guide will walk you through the process, highlighting essential tools, safety precautions, and detailed steps to ensure a successful installation. Before you begin, consider exploring our Top 10 RV solar systems for maximum efficiency to select the best system for your needs.
Gathering necessary tools and materials
Before starting the installation, ensure you have all the necessary tools and materials. You’ll need:
- Solar panels: Choose between monocrystalline and polycrystalline panels, as discussed in our article on comparing monocrystalline and polycrystalline solar panels for RVs.
- Mounting brackets: For securely attaching panels to the RV roof.
- Inverter: Converts DC power to AC power. Learn more in the role of inverters in RV solar systems.
- Charge controller: Manages the power flow to and from the battery. See our guide on understanding solar charge controllers for RVs.
- Cables and connectors: To link components together.
- Battery bank: Stores energy generated by the solar panels.
- Safety gear: Including gloves, goggles, and a ladder.
Preparing your RV for installation
Before installing your solar system, conduct a thorough inspection of your RV’s roof to check for any damage or areas that need repair. A clean, stable surface will ensure that your solar panels are securely mounted.
Step 1: Planning the layout
Decide on the placement of each component on your RV. Solar panels need to be in a location that receives maximum sunlight exposure. Consider shading and space for optimal panel performance.
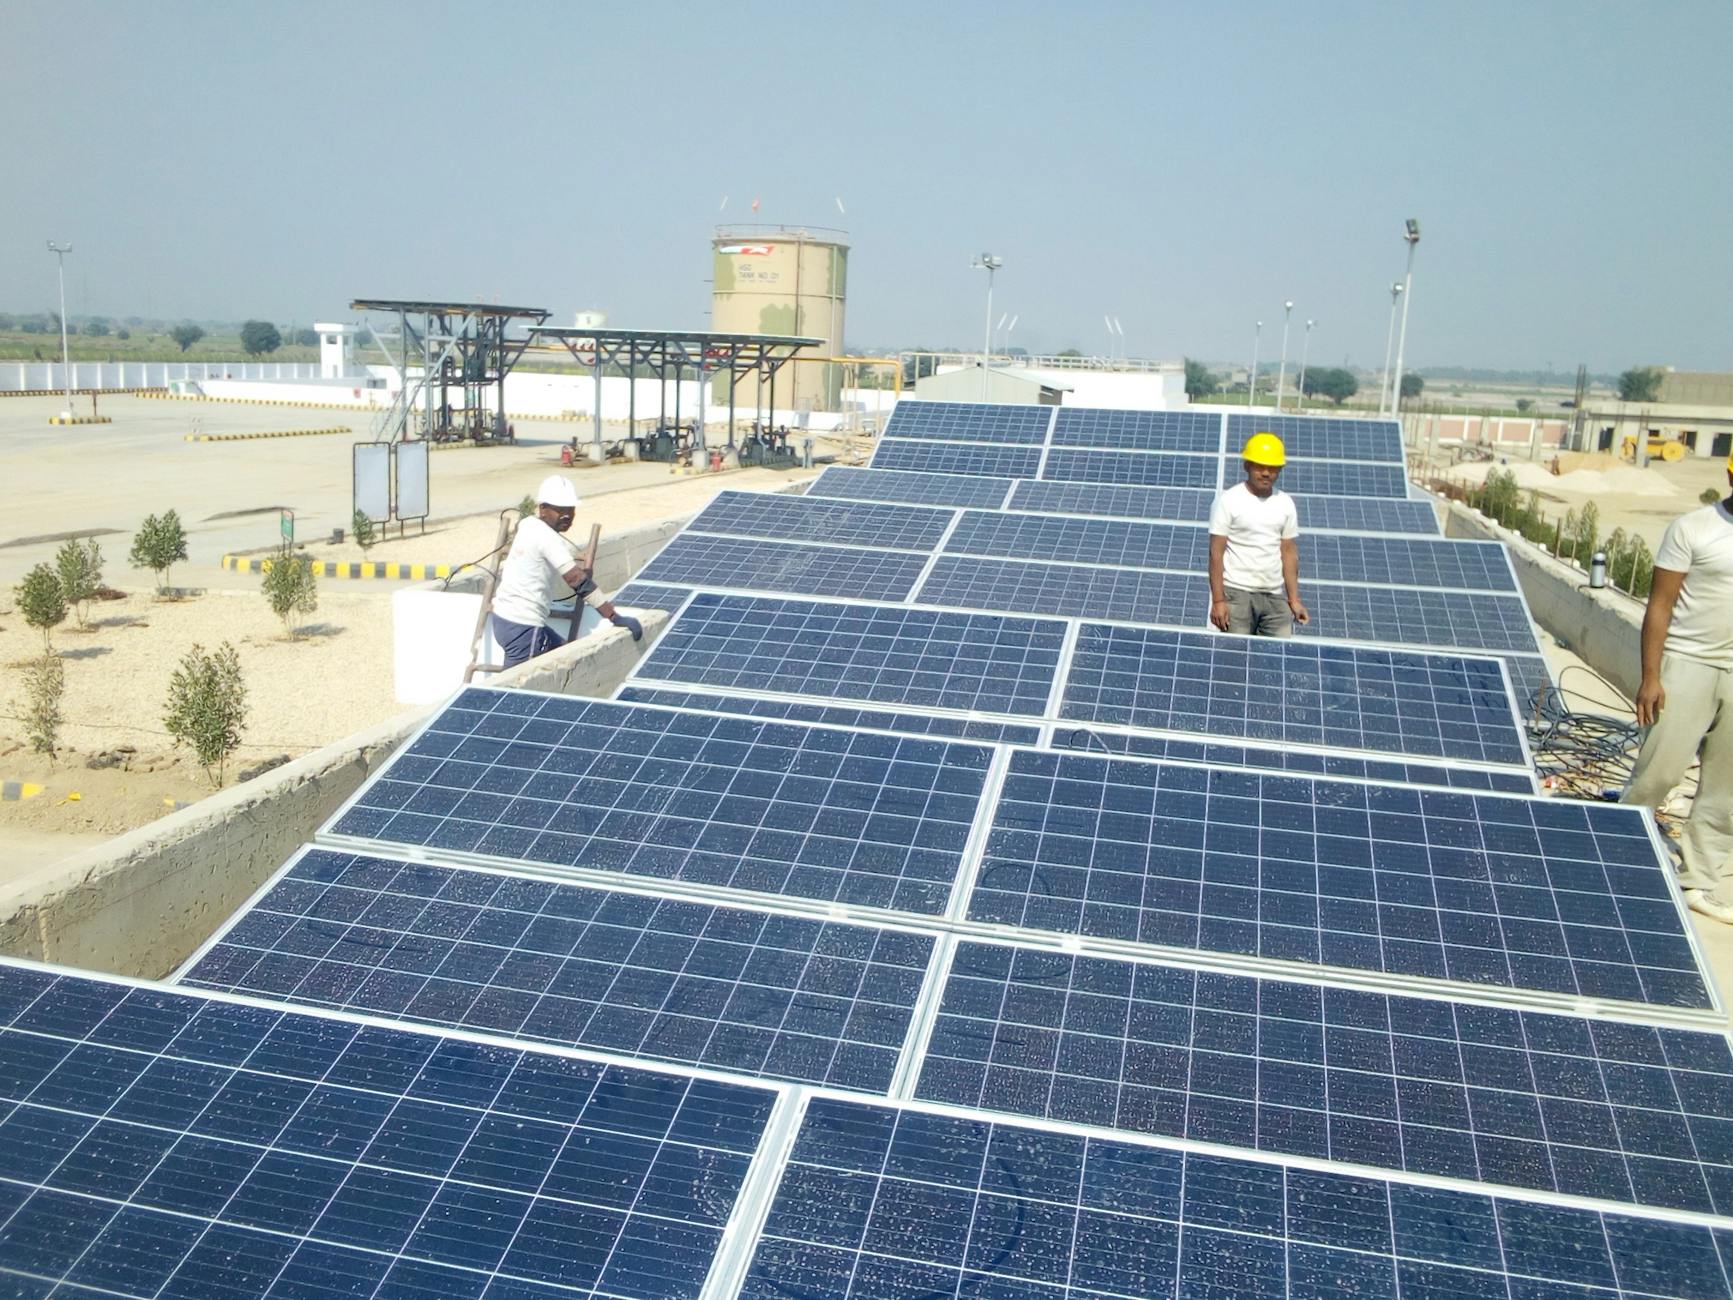
Step 2: Mounting the solar panels
Begin by securely attaching the mounting brackets to the roof. Use the brackets to affix the solar panels, ensuring they are tightly secured and angled appropriately to capture the most sunlight.
Step 3: Connecting the wiring
Once the panels are in place, connect them to the charge controller using the appropriate cables. This step is crucial for managing power flow and preventing battery overcharge.
Step 4: Installing the inverter
The inverter should be placed in a ventilated area to prevent overheating. Connect the inverter to the battery bank to convert the DC power from the panels into usable AC power.
Step 5: Setting up the battery bank
Install the battery bank in a location that is both accessible and well-ventilated. Connect the charge controller to the battery to manage the charging process effectively.
Testing the system
After all components are installed, test the system to ensure everything is functioning correctly. Check the panels’ output, battery charge level, and inverter function. This step is vital for identifying any potential issues early on.
Safety precautions
During installation, always prioritize safety. Use a sturdy ladder and ensure the roof is dry and clean to prevent slips. Wear appropriate safety gear, such as gloves and goggles, to protect against electrical hazards.
Maintaining your RV solar system
Regular maintenance is key to ensuring longevity and efficiency. Clean the solar panels regularly and check connections and battery levels to maintain optimal performance. For more tips, refer to our article on maintaining your RV solar system for optimal performance.
Benefits of RV solar systems
Having a solar system on your RV provides numerous benefits, including reduced reliance on campground hookups and decreased energy costs. For a detailed look at the potential savings, explore our article on budgeting for your RV solar system: Costs and savings.
By following these steps and tips, you can successfully install an RV solar system that meets your energy needs and enhances your travel experience.