Author
How to install fixed solar panels on your RV
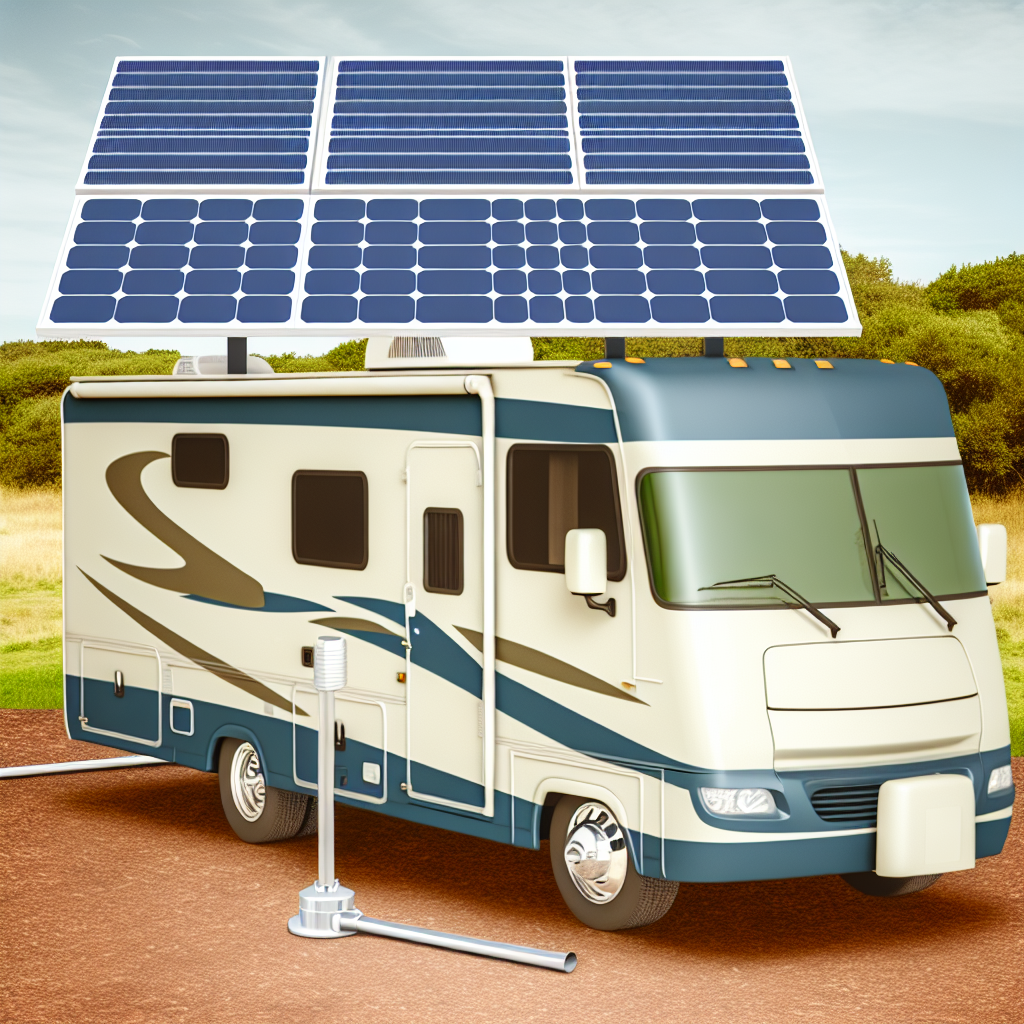
Installing fixed solar panels on your RV is an excellent way to enhance energy efficiency and autonomy during your travels. With the right tools and guidance, you can enjoy the benefits of renewable energy without relying solely on external power sources. This guide will walk you through the detailed process of installing fixed solar panels, ensuring you are well-equipped to power your adventures.
Gathering necessary tools and materials
Before you begin the installation process, it’s crucial to gather all necessary tools and materials. This preparation will streamline the installation and help prevent any unnecessary delays.
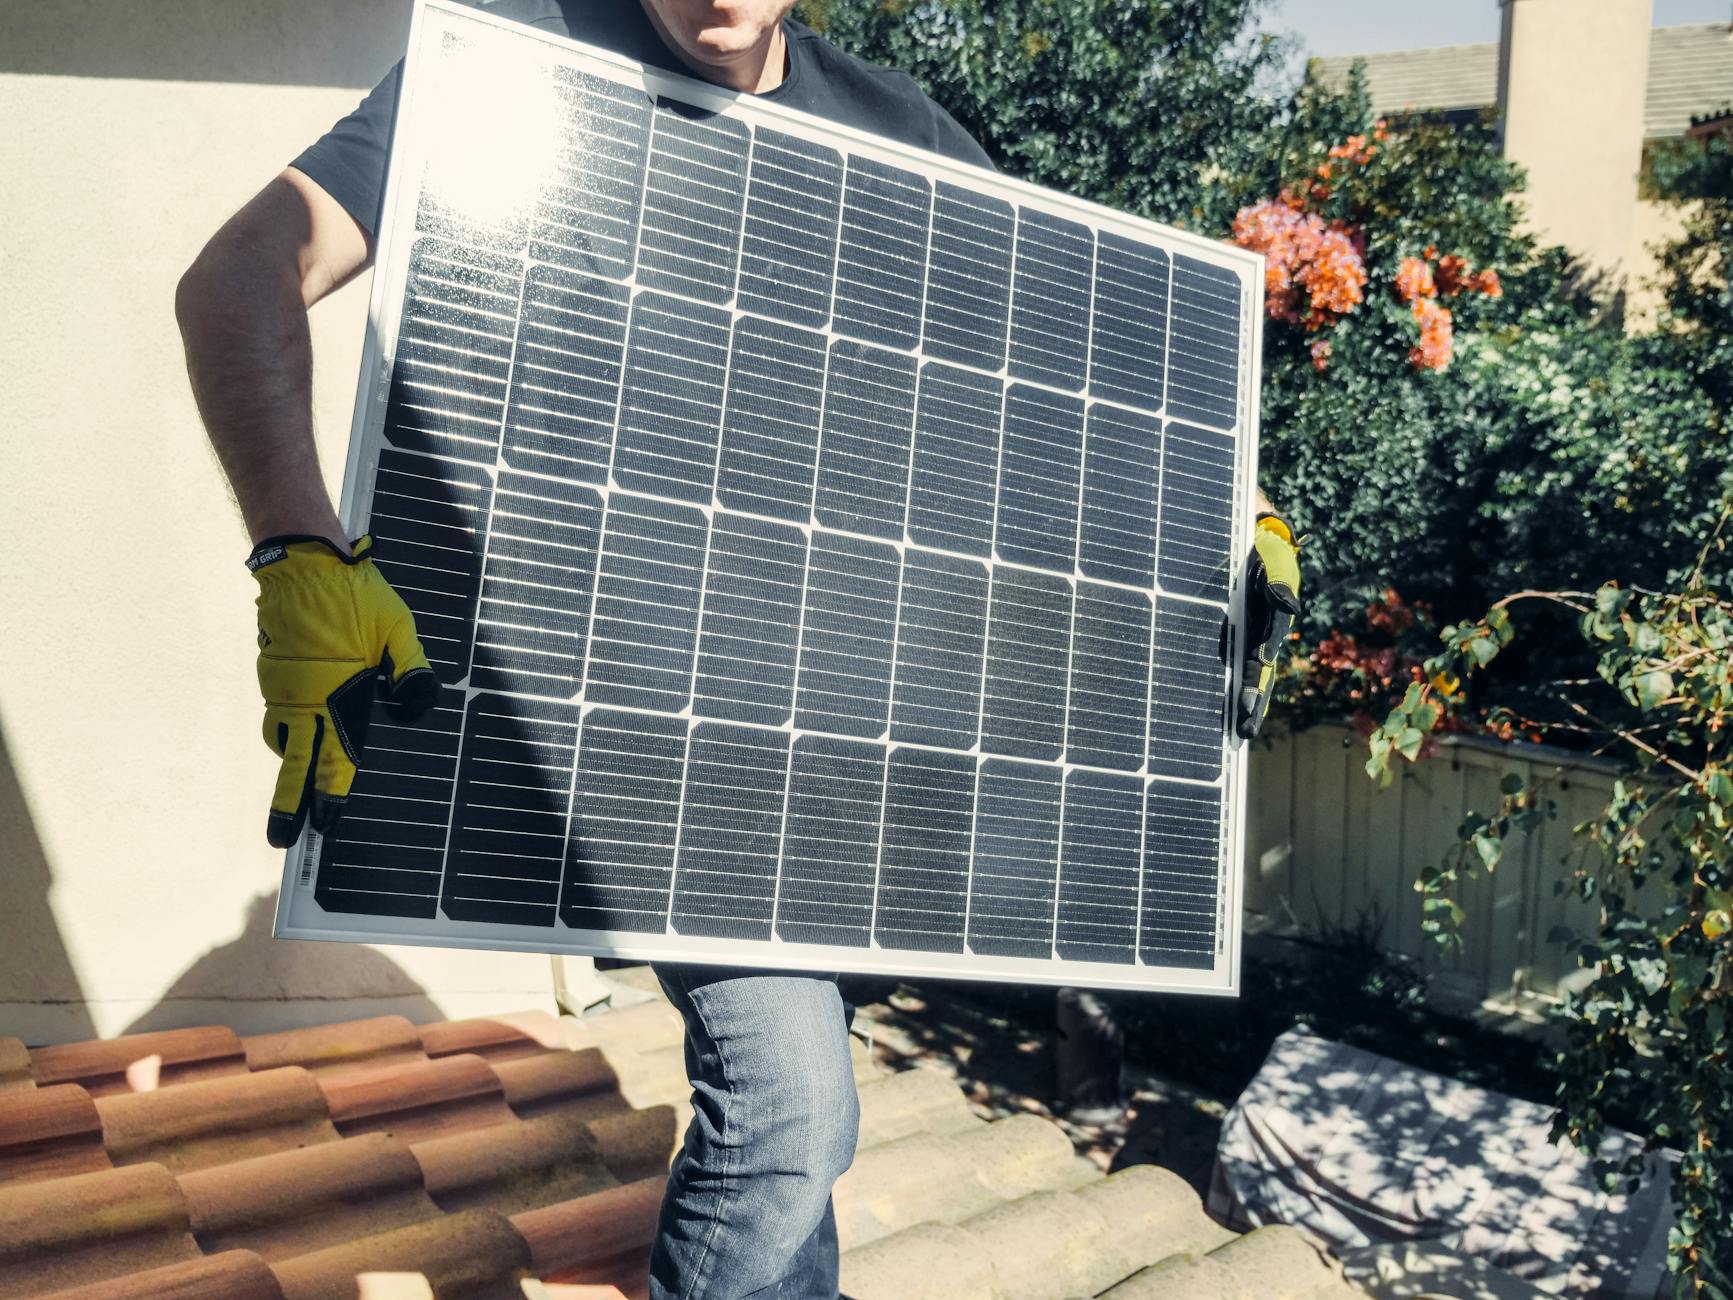
- Solar panels: Choose the right size and wattage based on your energy needs.
- Mounting brackets: Ensure they are compatible with your RV’s roof.
- Drill and drill bits: A power drill with the appropriate bits for your roof material.
- Screwdriver: For securing brackets and other components.
- Sealant: To waterproof any holes drilled into the roof.
- Wiring and connectors: For connecting the panels to your power system.
- Charge controller: To regulate the energy flow from the panels to your battery.
- Battery: A deep cycle battery is recommended for storing solar energy.
- Sun exposure: Place the panels in a location that receives maximum sunlight throughout the day.
- Avoiding shade: Ensure there are no obstructions such as antennas or air conditioning units that could cast shadows.
- Panel orientation: Ideally, aim for a south-facing direction in the northern hemisphere to maximize sun exposure.
- Weather conditions: Plan your installation for a day with good weather to avoid complications with sealant and electrical connections.
- Roof material: Be mindful of your roof material when drilling to avoid damage. If unsure, consult with a professional.
- System compatibility: Ensure all components are compatible with each other to avoid electrical issues.
Choosing the optimal placement
The placement of your solar panels is a critical factor in maximizing energy capture. Consider the following factors when deciding where to install your panels:
Step-by-step installation process
With your tools and materials ready, follow these steps to install your fixed solar panels:
1. Prepare the roof
Start by cleaning the roof surface where the panels will be mounted. This ensures a secure fit and protects the integrity of the roof.
2. Install mounting brackets
Position the mounting brackets according to the layout you planned. Use a drill to secure them to the roof, being careful to apply sealant around the screws to prevent leaks.
3. Attach the solar panels
Once the brackets are in place, carefully attach the solar panels. Ensure they are securely fastened and positioned correctly for optimal sun exposure.
4. Connect wiring
Run the wiring from the solar panels to your RV’s power system. Use connectors to ensure a stable and safe connection. It’s advisable to use a conduit to protect the wires from weather conditions.
5. Install the charge controller
Connect the wiring from the panels to the charge controller, which will regulate the voltage and current to the battery. Make sure the controller is installed in a location that is easily accessible for monitoring and maintenance.
6. Connect to the battery
Finally, connect the charge controller to your RV’s battery. This setup will store the solar energy collected, allowing you to use it as needed.
Installation challenges and tips
While installing fixed solar panels is generally straightforward, you may encounter some challenges. Here are a few tips to help you overcome common issues:
Enjoying the benefits of fixed solar panels
Once installed, fixed solar panels provide a reliable and sustainable energy source for your RV. They enhance your energy efficiency and allow for greater independence from traditional power sources. For more insights on the advantages of fixed solar panels, consider reading Comparing portable vs. fixed solar panels for RVs.
In , installing fixed solar panels on your RV is a rewarding endeavor that boosts your vehicle’s energy autonomy. With careful planning and execution, you can harness the power of the sun to fuel your adventures.