
Author
DIY Tips for Installing Solar Panels on Your RV
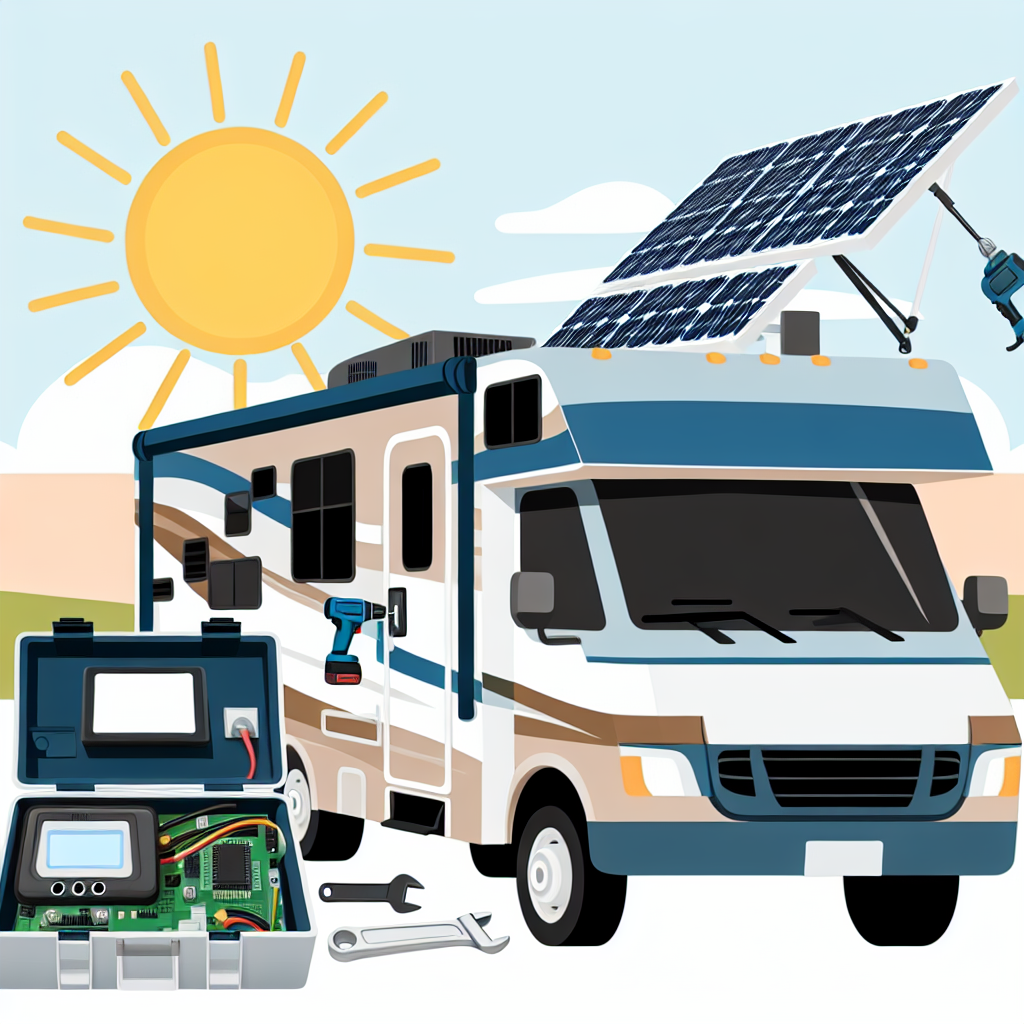
Embarking on the journey to install solar panels on your RV can be both exciting and rewarding. Proper installation not only ensures optimal energy management but also enhances your energy autonomy on the road. This guide provides step-by-step instructions and essential tips to help you successfully navigate the DIY process.
Why Install Solar Panels on Your RV?
Solar panels allow RV owners to tap into renewable energy, reducing reliance on traditional power sources. By installing solar panels, you can enjoy more freedom in choosing your camping locations, minimizing your environmental footprint, and potentially saving on energy costs.
For a broader understanding of managing solar energy in your RV, check out our comprehensive guide on How to Manage Your Solar Energy Consumption in an RV.
Tools and Materials Needed
Before you begin, gather the following tools and materials:
- Solar panels: Choose panels suitable for RVs. For the best options, explore our article on Top 5 Solar Panels for RVs in 2023.
- Mounting brackets: Ensure they are compatible with your RV’s roof.
- Charge controller: To regulate the energy flow from the panels to the batteries.
- Inverter: Converts DC power from the batteries to AC power used by appliances.
- Wiring and connectors: Appropriate gauge and length for your setup.
- Drill and bits: For mounting panels and brackets.
- Sealant: To waterproof drilled holes.
- Safety gear: Gloves, goggles, and a harness if working on a high roof.
Step-by-Step Installation Guide
Step 1: Plan Your Layout
Start by planning the layout of your solar panels on the RV roof. Consider factors like shading, available space, and the distance to the battery bank.
Step 2: Install Mounting Brackets
Secure the mounting brackets to the roof. Use a drill to create holes and fasten the brackets with screws. Apply a sealant to prevent water leaks.
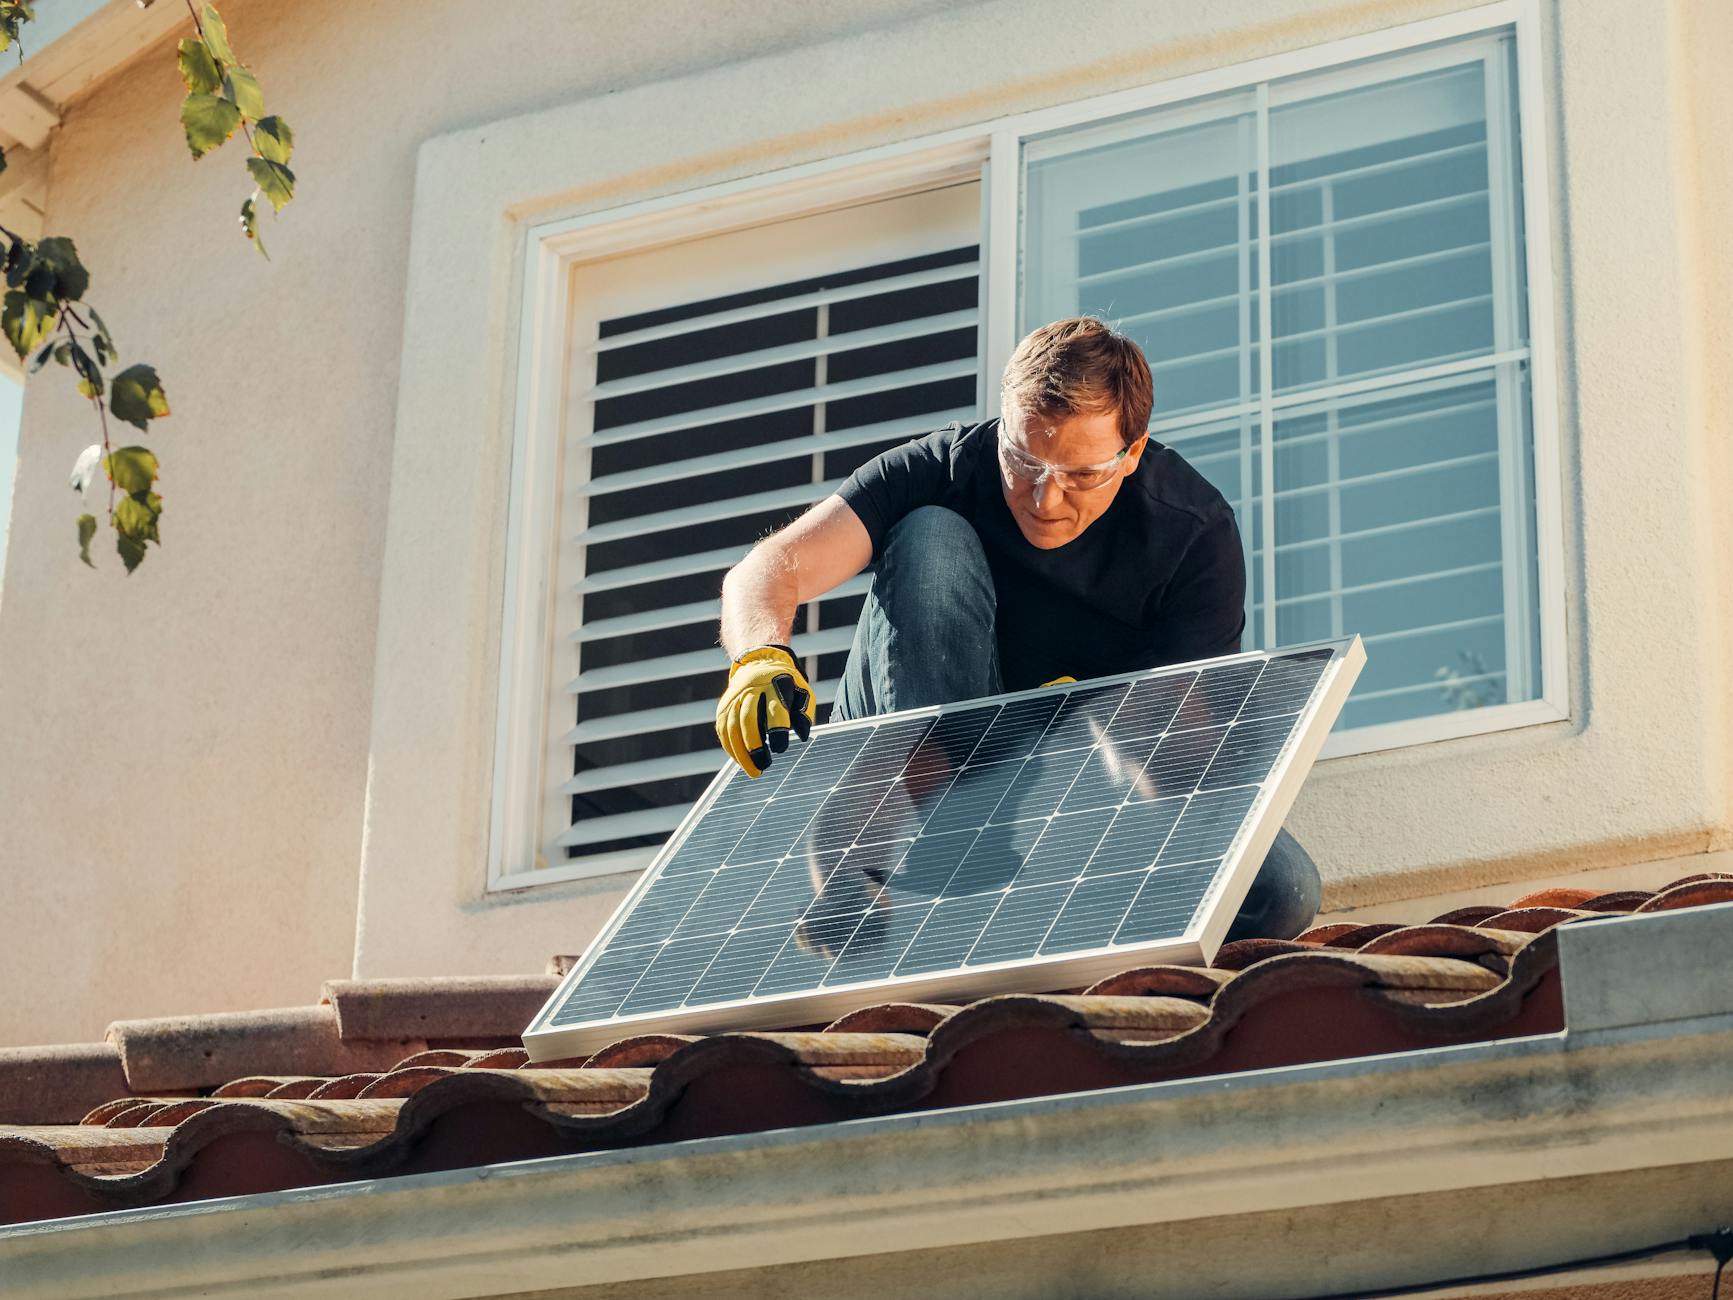
Step 3: Attach Solar Panels
Place the solar panels onto the brackets and secure them using the provided fasteners. Ensure they are firmly attached to withstand travel conditions.
Step 4: Connect Wiring
Connect the solar panels to the charge controller using appropriate wiring. Ensure all connections are tight and secure to prevent energy loss.
Step 5: Install the Charge Controller
Mount the charge controller close to the battery bank. Connect it to the batteries using the correct terminals, ensuring it regulates the charge effectively.
Step 6: Set Up the Inverter
Install the inverter near the battery bank and connect it to the charge controller. This setup converts stored solar energy into usable AC power.
Step 7: Test the System
Once everything is connected, test the system to ensure it operates correctly. Check the charge controller for proper readings and verify that the inverter supplies power to your RV appliances.
Safety Considerations
Working on RV rooftops can be hazardous. Always use safety gear, including gloves and goggles, and consider securing yourself with a harness when working at heights.
Maintenance Tips
Regular maintenance ensures your solar panels function efficiently. Clean the panels periodically to remove dust and debris. Inspect the wiring and connections for any signs of wear or damage.
For more on maintaining your RV’s energy systems, read our article on How to Maintain Your RV Batteries for Longevity.
Conclusion
Installing solar panels on your RV is a worthy investment in sustainable travel. By following the steps outlined in this guide, you can achieve a successful installation that enhances your RV lifestyle.