Author
It was a rainy Tuesday somewhere in the Texas Hill Country My daughter had just knocked over a bottle of shampoo in our RV shower again and my wife gave me that look. You know the one The look that means something has to change
We’d been full time RVing as a family for three years at that point and our 30 foot Class A had served us well on the road But the bathroom? It was a different story Cramped Drab. A splash fest every time anyone tried to wash their hands The factory setup was fine for weekend trips but for a family living in it day after day it just wasn’t cutting it.
So I did what any dad who s spent too many hours in hardware store parking lots would do I made a plan Over the next few weeks I tackled our RV bathroom renovation one upgrade at a time mostly on weekends mostly on a tight budget and always with my kids helping nearby
Here’s everything we did, what worked, what surprised us and exactly how you can do it too. These are real DIY RV bathroom renovation ideas not showroom fantasy but practical upgrades for people who actually live in their rigs
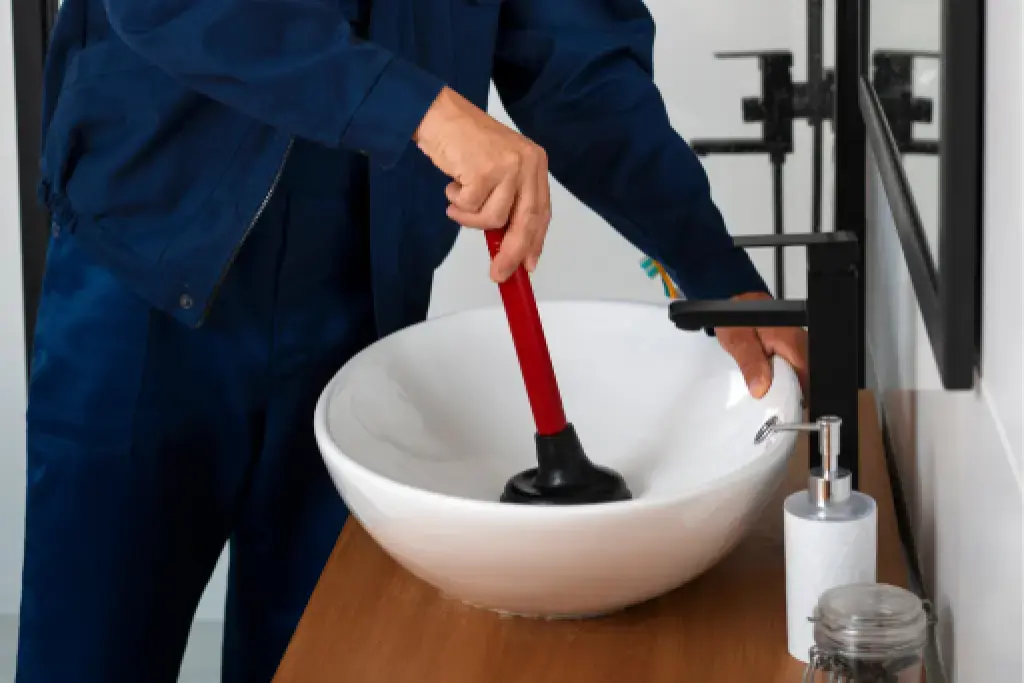
1. Replace the Sink and Faucet Easy Change, Massive Impact
The original sink in most RVs is comically small It’s like the manufacturer said People on vacation don’t need to wash their hands properly Every time my son tried to rinse off after a trail hike water ended up everywhere but the drain
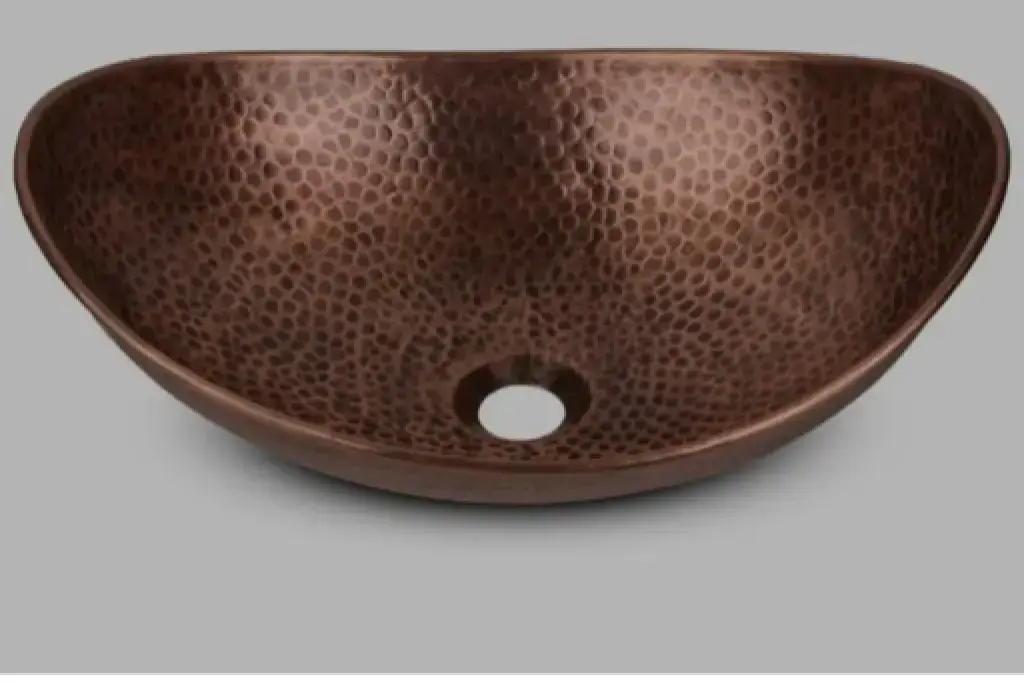
The fix? We swapped in a hammered copper vessel-style sink paired with a high-arc faucet. Night and day difference. The new sink is wider deeper and actually contains the water where it belongs. Installation took a couple of hours I drilled new faucet holes about an inch back from the originals to accommodate the wider basin, sealed everything with bathroom-grade silicone, and connected the hot/cold lines.
This is hands down the best RV bathroom sink upgrade idea you can do for under $200 The visual impact alone makes the whole bathroom feel like a different space If your RV bathroom renovation starts anywhere start here
What you need:
- Highbarc faucet with flexible supply lines
- Bathroom silicone sealant + basic drill
2. Peel and Stick Wallpaper The Smartest Low Cost RV Renovation Move
Factory RV bathroom walls tend to come in one flavor: bleak. Ours had this grayish-brown wallpaper that made the whole space feel like a storage closet. My wife said it gave her “early 2000s dentist office” vibes. She wasn’t wrong.
We didn’t want to deal with stripping the original wallpaper anyone who’s done that in a house knows the pain; in an RV with its curved walls and odd angles, it would have been a nightmare. Instead, we went straight for peel and stick wallpaper applied directly over the existing surface.
We found a bright, clean geometric pattern that transformed the bathroom instantly. Two years later, after over 30,000 miles of highway vibration, desert heat, and Pacific Northwest humidity it still looks perfect. This is one of the most budget-friendly RV interior upgrades that delivers outsized results. Total cost: under $50.
Pro tip: Take your time at the corners and around outlets. rv construction is rarely perfectly square so go slow and use a credit card to smooth out bubbles as you go.
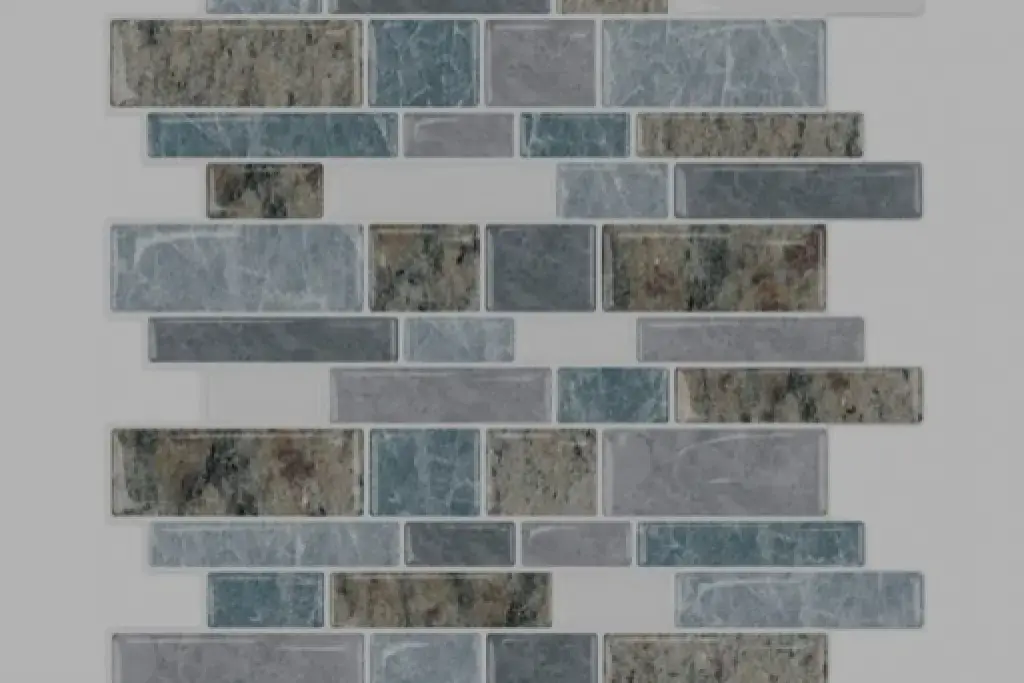
3. Add a Faux Tile Backsplash Peel, Stick, Done
Once the wallpaper went up, the original factory backsplash decal looked embarrassingly out of place. We replaced it with a self-adhesive faux tile backsplash peel and stick, trim to fit, press into place. That’s the whole job.
It added a finished, cohesive look to the sink area and has held up perfectly through full-time travel. This is one of those easy rv bathroom improvements where the effort-to-impact ratio is almost unfair. If you’re doing a low cost RV renovation, this is a nobrainer addition to your list.
4. Create Smart Storage with Wall Pockets
With four people sharing one RV bathroom, storage is a constant negotiation. Shampoo bottles, sunscreen a hairdryer three different kids’ toothbrushes the counter fills up fast. Our solution? We repurposed a strip of fabric shoe organizer pockets, screwing them directly into the wall horizontally.
It sounds simple because it is. But it cleared the counter, got the hairdryer off the floor, and gave every family member their own “zone” for toiletries. These small RV bathroom storage solutions are what separate a functional rig from a chaotic one when you’re living full time on the road.
Upgrading the RV Shower: Where the Real Game Changers Are
If the sink area was a quick win, the shower is where we really transformed our RV bathroom. here’s what we did and why each upgrade was worth every minute of work.
5. Dress Up the Skylight with Window Film
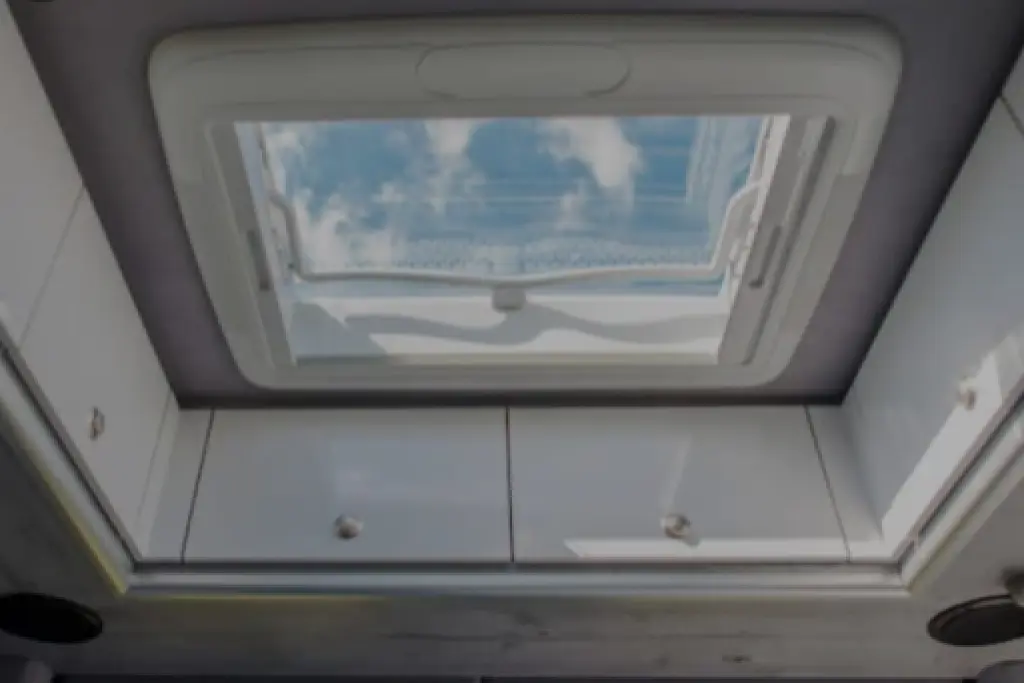
Here’s one I never would have thought of myself. Our RV shower has a skylight which is great for natural light, but visually it was just… a plain plastic dome. We applied decorative stained-glass window cling film between the inner and outer layers of the skylight.
Twenty minutes of work. $21. And now every morning shower feels like you’re standing under a cathedral window. My kids think it’s the coolest thing in the RV. It’s been up for over four years without fading or peeling. Sometimes the smallest touches make the biggest impression.
6. Add a Corner Splash Guard
Ditch the glass door, and the first thing you worry about is water escaping the shower area. We installed a 28 inch corner splash guard with self-adhesive strips along the side and bottom. Installation took maybe 15 minutes and we’ve had zero water escape issues since. Small upgrade, big peace of mind.
7. Install a Bamboo Shower Mat Better Support, Better Look
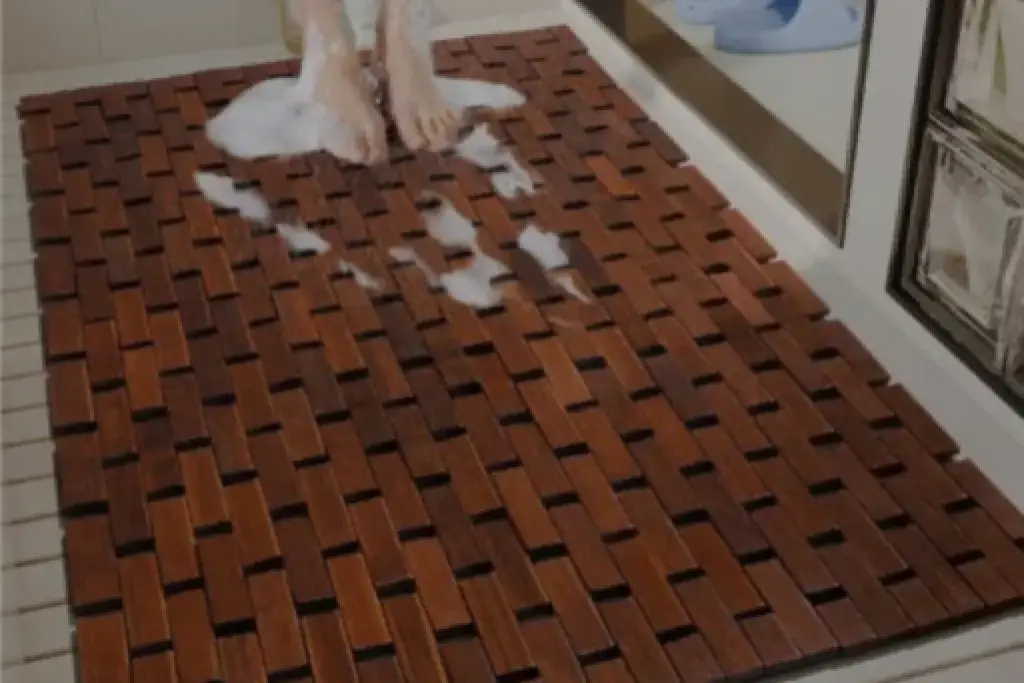
A lot of RV shower pans have flex to them too much flex. Under repeated pressure near the drain, this can eventuallycrack the pan or break the drain connection underneath, leading to a slow leak that causes serious damage before you ever notice it.
A bamboo shower mat distributes weight evenly across the pan floor, protecting the drain connection and adding a spa-like look to the shower. It’s a budget-friendly RV interior upgrade that also prevents a potentially expensive repair down the road. We stopped worrying about drain damage the day we put ours in.
8. Install a ShowerMiser Diverter Water Saving for RV Shower Boondocking

This is the most technical upgrade on the list and the one I’m most proud of pulling off. If you boondock regularly you know the math: every gallon of fresh water counts, and every gallon of gray water needs to go somewhere. The typical waste while waiting for hot water to arrive at the showerhead adds up fast
The ShowerMiser solves this beautifully. With a lever flip, it diverts that cold startup water back into your fresh water tank instead of down the drain. A temperature-reactive tube turns from blue to white when the water reaches the showerhead that’s your cue to flip back to shower mode.
Here’s the bonus I didn’t expect: if your RV doesn’t have a built-in fresh tank fill system, the ShowerMiser lets you fill your fresh tank directly from the city water inlet. No hose running outside. No gravity fill port. Just connect at the city water hookup, flip the lever, and fill the tank from inside the rv.
Fair warning: running the PEX line from the shower faucet to the fresh tank involves some tight spaces and creative routing. It took me a few hours and earned me a few choice words from my wife about the “colorful language” coming from the bathroom. But it’s absolutely worth it if you spend any meaningful time off-grid.
9. Replace the Showerhead Best First Step for Better RV Shower Pressure
Let’s end with one of the most common complaints in the RV world: terrible shower pressure. Factory RV showerheads are often an afterthought low flow, weak spray patterns, and no settings. After a long day of hiking with kids, the last thing anyone wants is a sad trickle.
The oxygenics PowerFlow rv is the go-to solution for most RVers, and for good reason. It uses 1.8 gallons per minute efficient enough for boondocking but the oxygen infused flow makes it feel significantly stronger than that number suggests. Five spray settings mean everyone in the family can find their preference.
Installation is literally a two-minute job: unscrew the old one, screw on the new one. If you’re looking for one easy RV bathroom improvement to start with before committing to a bigger renovation, this is it. It’s the upgrade that immediately makes you ask “Why didn’t I do this sooner?”
The Bigger Picture: What an RV Bathroom Remodel Really Costs You
Here’s what I love about these upgrades: not one of them required a contractor, a specialist, or a campground service bay. Every single one was a DIY RV bathroom renovation done on weekends, with basic tools, by someone whose professional background has nothing to do with plumbing or construction.
Total spend across all 10 upgrades? We came in under $600. For reference, a single “professional” RV bathroom remodel from a dealership service center can easily run $3,000 to $8,000 and half of what they’d do is exactly what’s on this list.
If you’re living full-time on the road, or even just using your RV more than a couple weekends a year, your bathroom deserves better than the factory standard. These aren’t luxury upgrades they’re functional improvements that make daily life in your rig genuinely better.
Pick one upgrade. Start this weekend. I promise you’ll have a list of the next three within an hour of finishing.
Quick Reference: RV Bathroom Upgrade Summary
All 10 upgrades at a glance:
- Vessel sink + high arc faucet Difficulty: Easy Cost: $150 $200
- Peel & stick wallpaper Difficulty: Easy Cost: $30 $60
- Faux tile backsplash Difficulty: Easy Cost: $20 $40
- Wall storage pockets Difficulty: Easy Cost: $10 $20
- Skylight window film Difficulty: Easy Cost: $20 $30
- Extendable shower rod + curtain Difficulty: Easy Cost: $50 $80
- Corner splash guard Difficulty: Easy Cost: $25 $40
- Bamboo shower mat Difficulty: Easy Cost: $30 $50
- ShowerMiser water diverter Difficulty: Moderate Cost: $60 $90
- Oxygenics showerhead Difficulty: Easy Cost: $30 $50
Have a favorite RV bathroom upgrade that didn’t make this list? Drop it in the comments I’m always looking for the next project to tackle before my wife finds it first.
I acquired all these things from amazon
Have a favorite RV bathroom upgrade that didn’t make this list? Drop it in the comments I’m always looking for the next project to tackle before my wife finds it first.
Related RV Bathroom and Water Guides
- RV Bathroom Plumbing Guide
- How to Install an RV Water Filter
- RV Water Filter Systems Guide
- Family RV Travel Guide
Published on February 21, 2026
Michael Carter
Michael Carter is an RV conversion specialist and solar energy advisor with extensive hands-on experience building off-grid power systems for camper vans and motorhomes. He shares step-by-step guides for DIY RV builds and renewable energy upgrades.