
Author
Two upgrades, a weekend afternoon, and a completely different relationship with your fresh water tank.
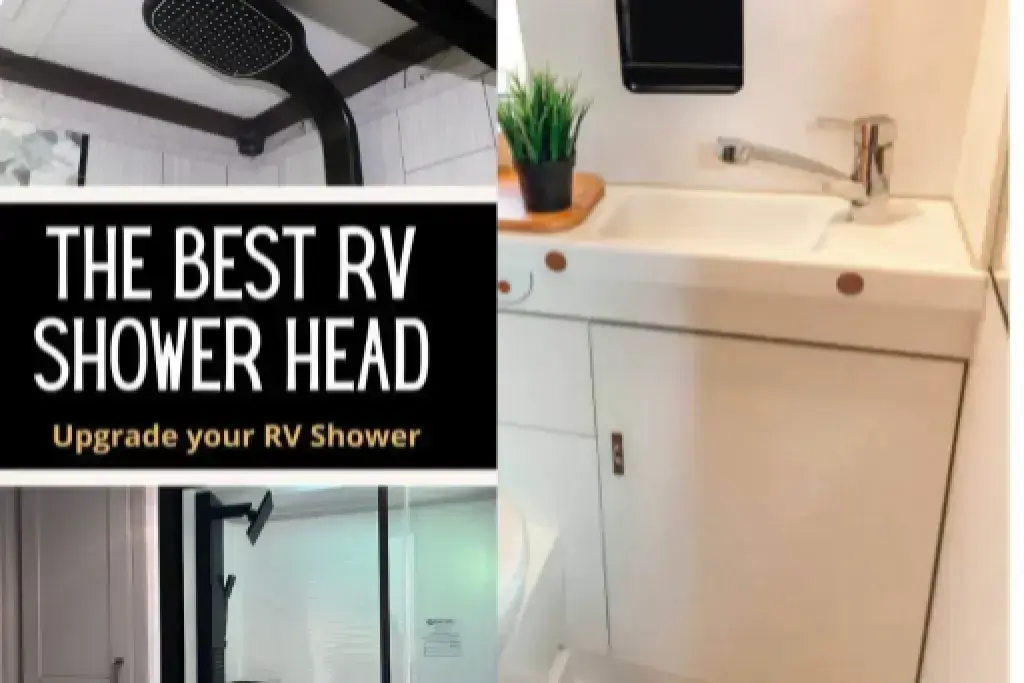
From the series: 10 DIY RV Bathroom Renovation Ideas That Actually Work
This article diving deep into water-saving shower upgrades. For the complete guide covering all 10 DIY RV bathroom makeover ideas sink, walls, storage, and more read the full pillar article: 10 DIY RV Bathroom Renovation Ideas That Actually Work.
There’s a particular kind of math that full-time RVers know in their bones. You’re parked somewhere beautiful a canyon rim, a forest clearing, a stretch of high desert that looks like it was painted for you specifically and you’re calculating. How many gallons are left in the fresh tank? How full is the gray? How long before you have to break camp and find a dump station?
Water is the invisible governor of life off-grid. It decides how long you stay, how freely you move, and more than any other resource how comfortable your days actually feel. Which is why the shower, of all places, deserves your most serious attention when it comes to camping lifestyle upgrades.
Most RV showers waste water in two distinct ways: the cold water that runs while you wait for warmth to arrive, and the weak, inefficient spray of a factory showerhead that forces you to stand under it twice as long as you should. Fix both, and you haven’t just improved your RV travel comfort you’ve fundamentally changed how long you can stay in the places you love.
These are the two water-saving shower upgrades I consider essential for any boondocker drawn from our family’s three years of full time life on the road, and detailed here far more thoroughly than a list article allows. This is the deep dive.
1.8
Gallons per minute Oxygenics PowerFlow RV
$90
Total cost for both upgrades combined
2 min
To install the new showerhead
The Problem With RV Showers
Before we get into the solutions, it’s worth naming the problem clearly because most RVers accept a level of water waste they don’t have to. The factory shower experience goes like this: you turn on the water, cold water runs through the pipes, you wait. Thirty seconds. A minute. Sometimes longer if your water heater is at the far end of the rig. All of that water goes straight down the drain into your gray tank. You haven’t used a drop of it, and already your resources are shrinking.
Then there’s the showerhead itself. Factory installed RV fixtures are, almost universally, an afterthought low-flow in the worst sense, with weak spray patterns that force longer showers and deliver less satisfaction. For a family of four, this compounds fast. By the end of a week of boondocking, you’ve wasted more water standing under an inadequate spray than you would have with a better head at lower total usage.
The good news: both problems have elegant, affordable RV bathroom improvements that take an afternoon to implement and pay dividends every single day on the road.
Upgrade One The ShowerMiser Diverter
Upgrade 01 The Boondocker’s Best Friend
ShowerMiser water diverter stop wasting what you worked to carry
Let’s start with the upgrade I’m most proud of the one that made me feel, for the first time, like I’d genuinely outsmarted the factory design. The ShowerMiser is a diverter valve that sits between your shower faucet and showerhead, intercepting the cold startup water before it ever reaches the drain.
The principle is simple and almost obvious once you see it: all that cold water running while you wait for heat to arrive is clean fresh water. You paid to carry it. You’ll pay again to fill the tank. Why send it to the gray tank or worse, onto the ground when it could go right back where it came from?
With a flip of the ShowerMiser’s lever, that cold water is diverted back into your fresh water tank rather than down the drain. A temperature-reactive tube blue when cold, turning white when the water reaches the showerhead tells you exactly when to flip back to shower mode. No guessing. No wasted moment of scalding water before you catch the switch. It’s a genuinely elegant piece of modern RV fixture engineering hiding in a very small package.
There’s a bonus I didn’t anticipate until installation: if your rig doesn’t have a built-in fresh tank fill system, the ShowerMiser effectively gives you one. Connect at the city water hookup, flip the lever, and you can fill your fresh tank directly from inside the RV no hose running from an outside gravity fill port, no awkward connection at the tank itself. For full-time families juggling a dozen campsite logistics at once, this is the kind of RV living tip that quietly transforms the experience.
How It Works Step by Step
Step 1 Turn on the shower. Cold water enters the ShowerMiser valve.
Step 2 Flip the diverter lever. Cold water routes back to your fresh tank instead of the drain.
Step 3 Watch the temperature tube. Blue means cold keep the lever flipped.
Step 4 Tube turns white. Water is hot. Flip back to shower mode. Step in.
Bonus Connect to city water hookup, flip lever, fill fresh tank from inside the rig.
$60–$90Moderate a few hours, some pex routing
Honest Installation Note
Running the pex line from the shower faucet back to the fresh tank involves navigating some genuinely tight spaces behind RV walls. Plan for a few hours, not thirty minutes. Have a headlamp, flexible drill bits, and a patient disposition. The result is absolutely worth the effort but go in with realistic expectations and you’ll finish in good spirits.
Before Without ShowerMiser
Cold startup water drains directly to gray tank. Fresh tank depletes faster. Gray tank fills faster. Boondocking window shrinks. Every shower costs more than it should.
After With ShowerMiser
Cold startup water returns to fresh tank. Gray tank fills slower. Boondocking window extends. Fresh tank can be filled from city water hookup inside the rig. every shower is a net gain.
“Water is the invisible governor of life off-grid. Fix how your shower uses it, and you’ve changed how long you can stay in the places that make this life worth living.”
Upgrade Two The Showerhead
Upgrade 02 Start Here If You Start Anywhere
Oxygenics PowerFlow rv showerhead two minutes to a completely different shower
If the ShowerMiser is the sophisticated upgrade the one that takes an afternoon and rewards you with systems level satisfaction the showerhead replacement is its opposite: a two-minute job with an immediate, dramatic payof that makes you feel slightly foolish for having waited this long.
Factory RV showerheads are, almost without exception, a disappointment. They are low-flow in the worst sense not efficient, just weak. The spray patterns are limited, the pressure is underwhelming, and after a long day of hiking with children who have opinions about trail length and trail difficulty, the last thing anyone needs is a sad trickle that takes four minutes to rinse shampoo from hair that is eight inches long.
The Oxygenics PowerFlow rv answers every one of these complaints with a single product. It flows at 1.8 gallons per minute efficient enough for responsible boondocking but its oxygen infused technology makes the spray feel significantly more powerful than that number suggests. The air entrainment creates a fuller, warmer-feeling stream that rinses faster and satisfies more completely. Five spray settings mean every member of the family finds their preference within the first week.
This is how you make an RV bathroom feel luxurious without a renovation budget. It’s the upgrade that answers the question how to upgrade an RV bathroom easily with a single, honest answer: start in the shower, start with the head, and do it this weekend. the improvement in RV travel comfort is immediate and i say this as someone who has now lived with it for years never stops feeling like an upgrade.
Installation The Whole Process
Step 1 Turn off the water supply.
Step 2 Unscrew the old showerhead by hand or with a wrench.
Step 3 Wrap the threads with plumber’s tape (two or three passes).
Step 4 Hand-tighten the Oxygenics head onto the arm. Done.
Total time Two minutes. Possibly less.
$30–$50Easy two minutes one tool
why This Matters for Boondocking Specifically
At 1.8 GPM, the PowerFlow-RV uses meaningfully less water than a standard residential showerhead (typically 2.5 GPM) while delivering more perceived pressure. For a family of four showering daily off-grid, that difference compounds into real days of extended boondocking. Pair it with the ShowerMiser and you’ve transformed your water equation entirely.
The Numbers What These Two Upgrades Actually Cost You
$90–$140
Combined cost for both water-saving upgrades
vs. the cost of cutting a boondocking trip short because the tanks ran out priceless
There’s a version of the best RV bathroom upgrades for comfort conversation that focuses entirely on aesthetics the wallpaper, the sink, the tile backsplash. Those upgrades matter enormously for daily enjoyment. But the water-saving upgrades are the ones with the clearest return on investment for anyone who spends meaningful time off-grid.
Together, the ShowerMiser and the Oxygenics PowerFlow-RV cost between $90 and $140. They reduce fresh water consumption, slow gray tank accumulation, extend your off-grid window, and in the case of the showerhead make every shower meaningfully better. These are the motorhome bathroom improvements that change not just how your bathroom feels but how your entire trip unfolds.
As affordable RV bathroom improvements go, the math is hard to argue with. The ShowerMiser pays for itself the first week you use it to extend a stay you’d have otherwise ended early. The showerhead pays for itself the first morning your kids stop complaining about shower pressure and just… shower.
Two upgrades. One afternoon. A different relationship with water.
If you’re serious about boondocking or simply about making your luxury RV bathroom feel as considered and comfortable as the life around it these two upgrades are where you start. The ShowerMiser for the systems-minded, the showerhead for the immediately gratified. Both, ideally, for anyone who wants to stay longer in the places worth staying.
For the full picture of how we transformed our entire stylish RV bathroom sink, walls, storage, shower door, bamboo mat, and all the complete guide covers every upgrade we made across three years of full-time family travel on the road.09 DIY RV Bathroom Renovation Ideas That Actually Work (From a Family That Lives on the road)← Read the full pillar article: 09DIY RV Bathroom Renovation Ideas That Actually Work